How to Inspect Your Roof – What to Look For & How to do it Safely
11/23/2015
As your home’s first line of defense against the elements, your roof endures a lot of wear and tear. A yearly visual inspection should be part of your home maintenance routine. We’re here to provide guidance on how to inspect your roof, and how to do it safely.
Safety first!
Since walking on your roof can be dangerous it is recommended that you perform your visual inspection from a properly secured ladder, by looking out of an upper story window, or from the ground with a pair of binoculars.

Shingle Inspection
Start your inspection with the shingles. Look for shingles that are missing or loose, or show signs of heavy wear. These are considered weak points where water can penetrate your roofing and cause leaks.
Flashing Inspection
After an inspection of your singles, check the flashing. Flashing is pieces of metal, rubber, or plastic that roofers install to waterproof breaks in your roof plane. Flashing is commonly found at dormers, chimneys, & exhaust vents. Note any loose, missing or cracked flashing as this can spell waterproofing trouble. Learn more about flashing on our blog.
Attic Inspection
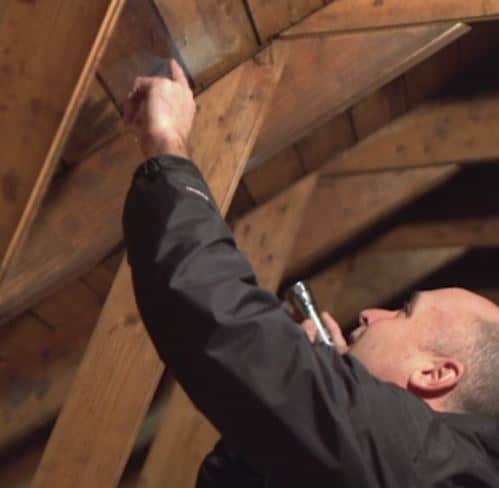
Finally, inspect your attic for leaks. A good time to check is after a rainstorm. Look for water stains, wet framing, or wet insulation. These are all indications that your roof may have a leak.
If you notice trouble signs during ANY part of the inspection process, you should schedule a roof inspection with a credentialed roofing contractor. Make sure your roofing contractor is credentialed, licensed and insured.
Learn more about the common roof issues you should look for >
Remember – an ounce of prevention is worth a pound of cure – so check your roof with a home roof inspection at least once a year – preferably twice – to keep your home happy and healthy!
